
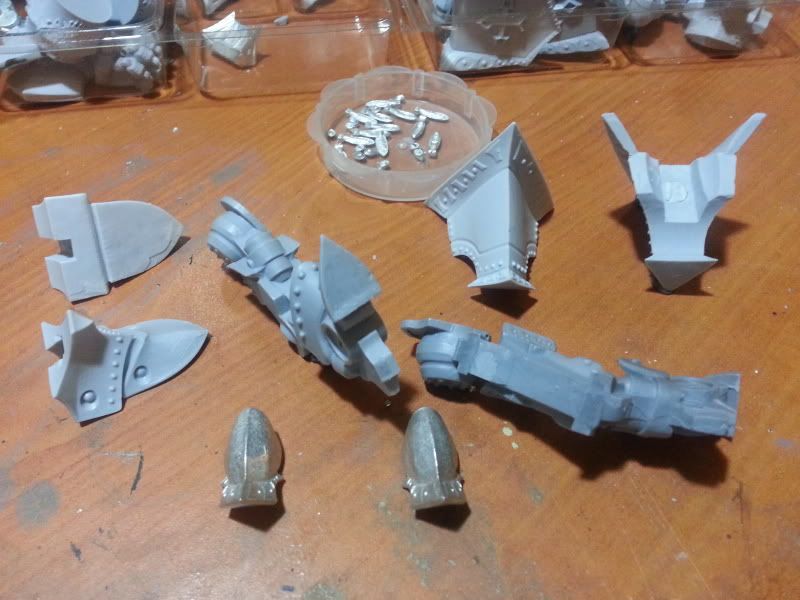
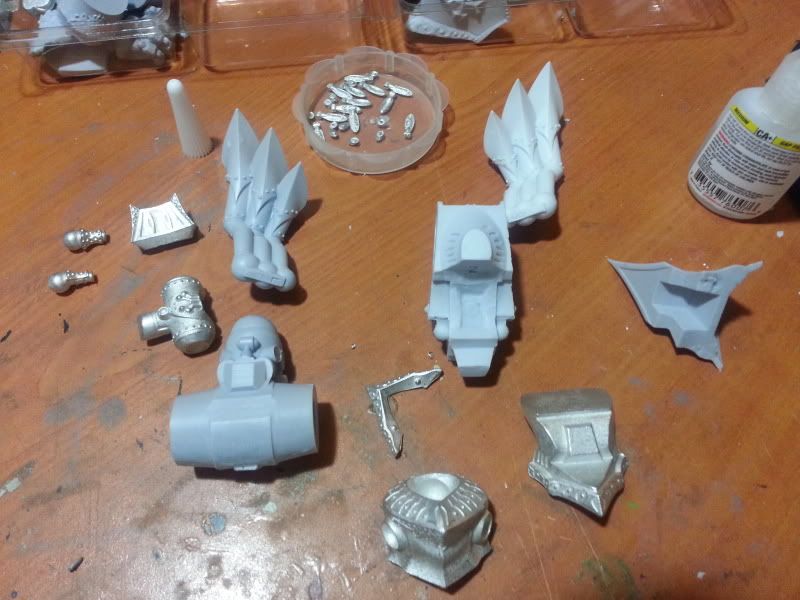
Okay, continué mi trabajo con el Judicator. Trataré de mostrar paso a paso como lo armé. Primero lavé todo para remover cualquier rastro de aceite o similar.
First I ensemble one leg:
Primero armé una pierna:
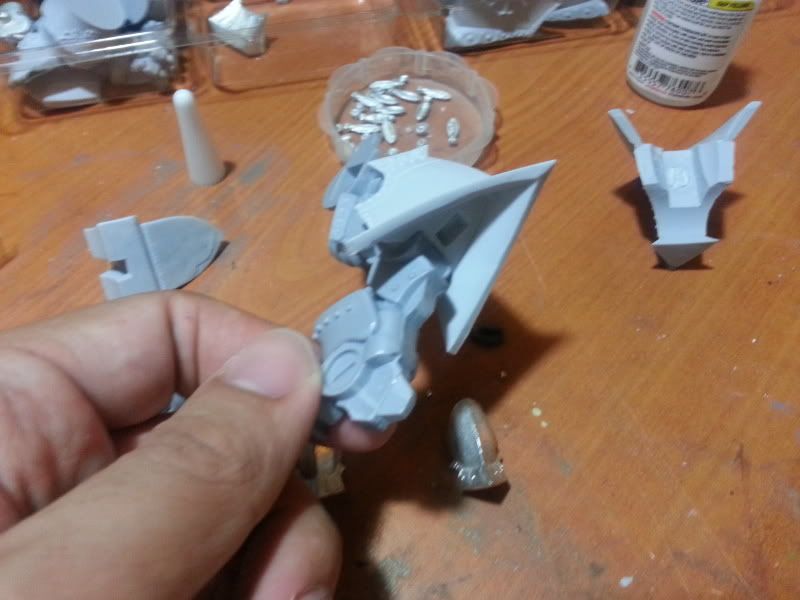
Please note I left the foot apart, because it will be more easy to paint it separately. Then I ensemble the second leg:
Favor de notar que dejé el pie aparte, porque será más fácil de pintar por separado. Entonces armé la segunda pierna:
Then I started with the torso.
Luego empecé con el torso.


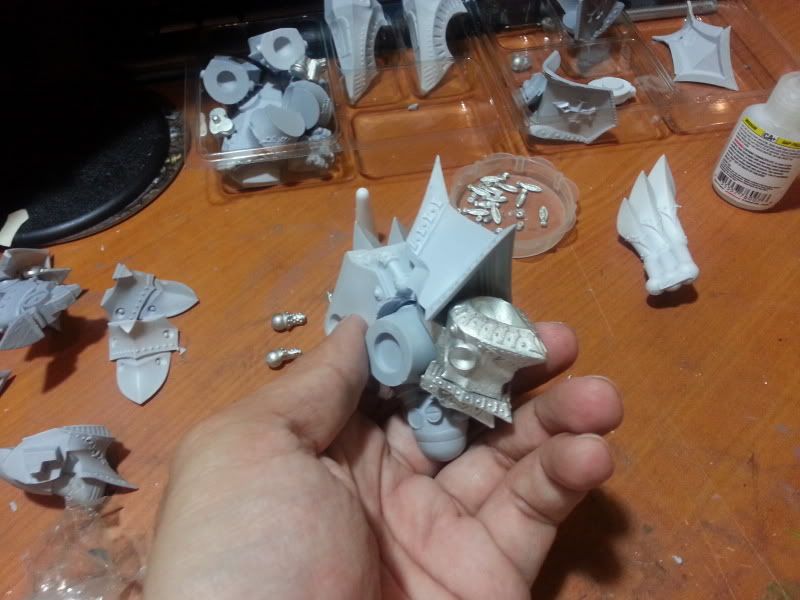
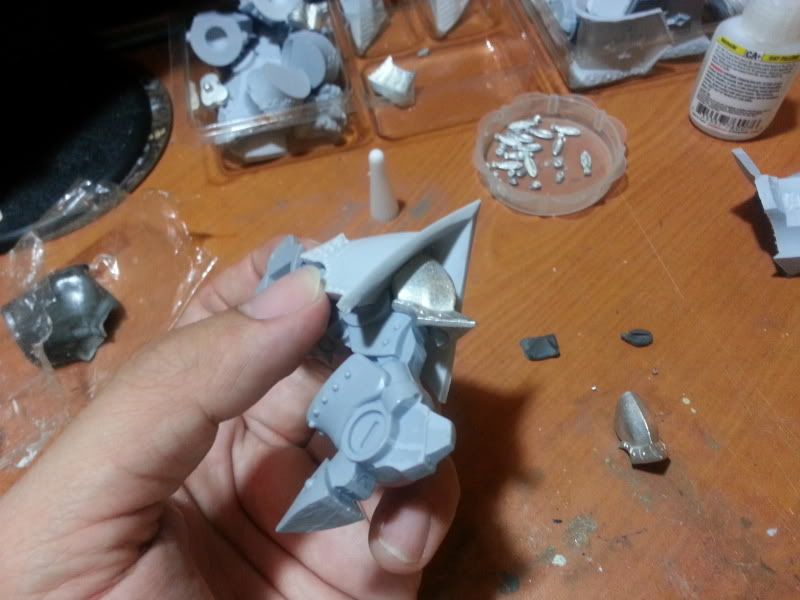
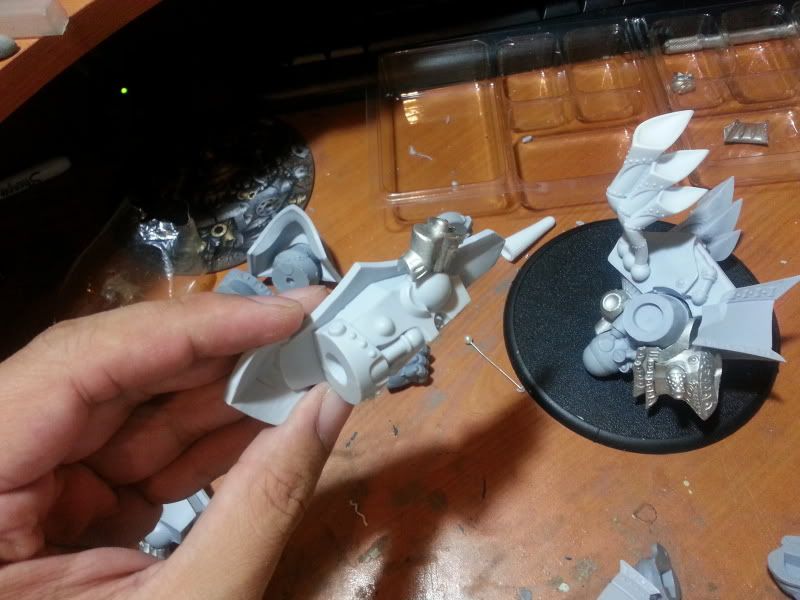
At this point I was convinced that the arms will require a pin, so with UHU Tac (a non permanent glue), I put legs, hip and torso together, and both shoulders, to see what angle is the best for the arm join. Then I pinned it.
En este punto estaba convencido de que sería neceario un pin en el brazo, así que con UHU Tac (un pegamento no permanente), armé las piernas, cadera, torso y ambos hombros, para ver el mejor ángulo para la unión del brazo. Entonces lo pineé.
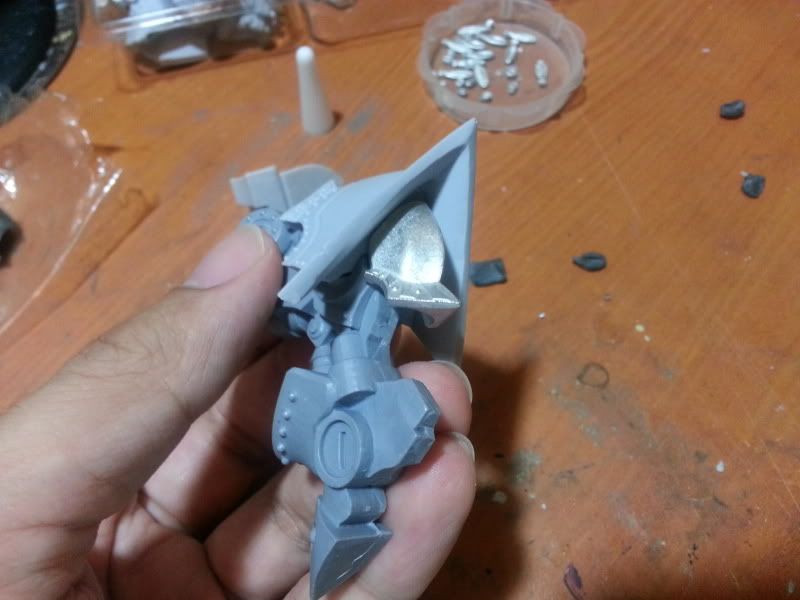
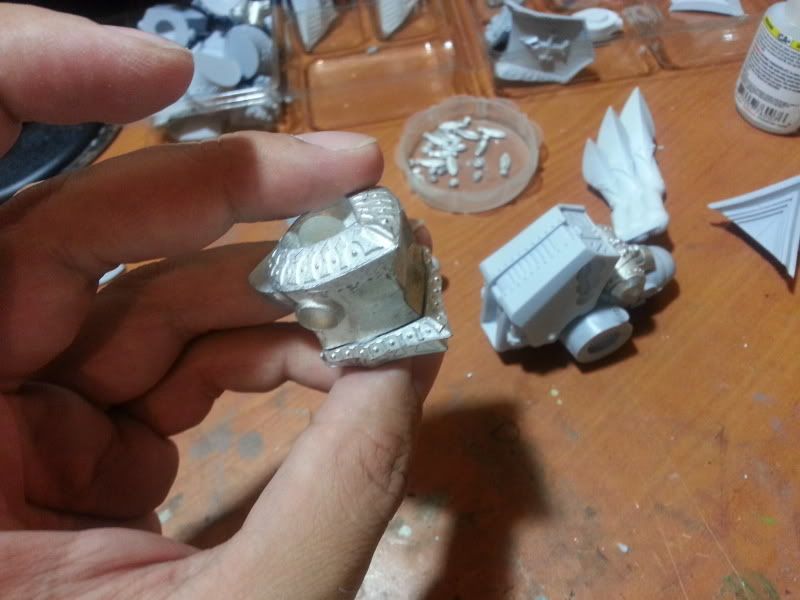
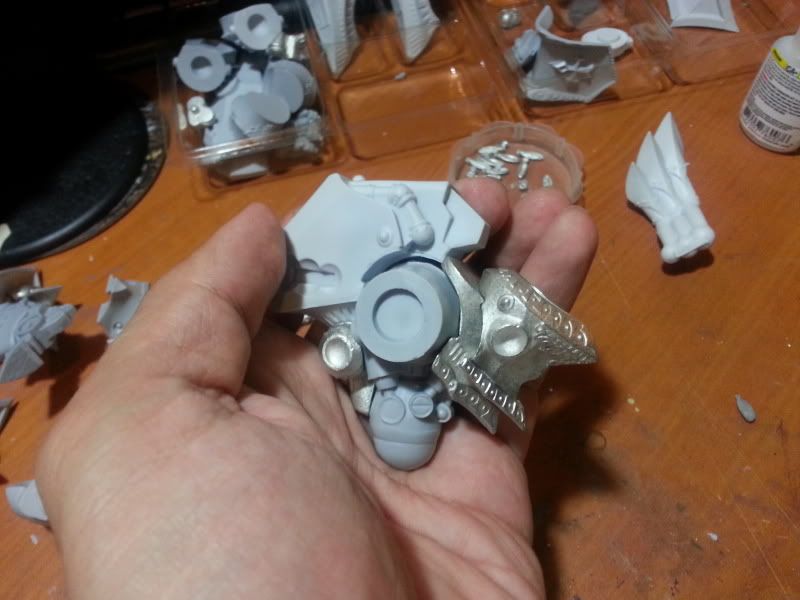
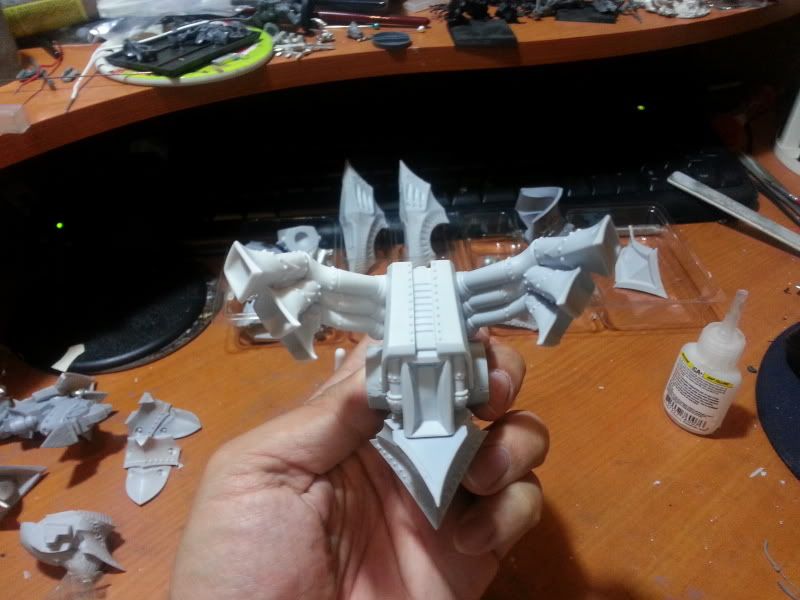
Then I glue the shoulder:
Luego pegué el hombro:
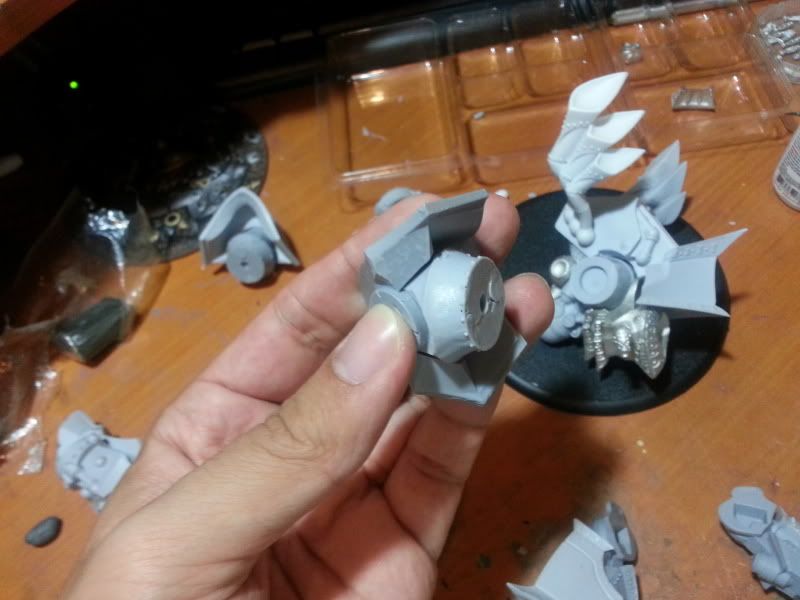
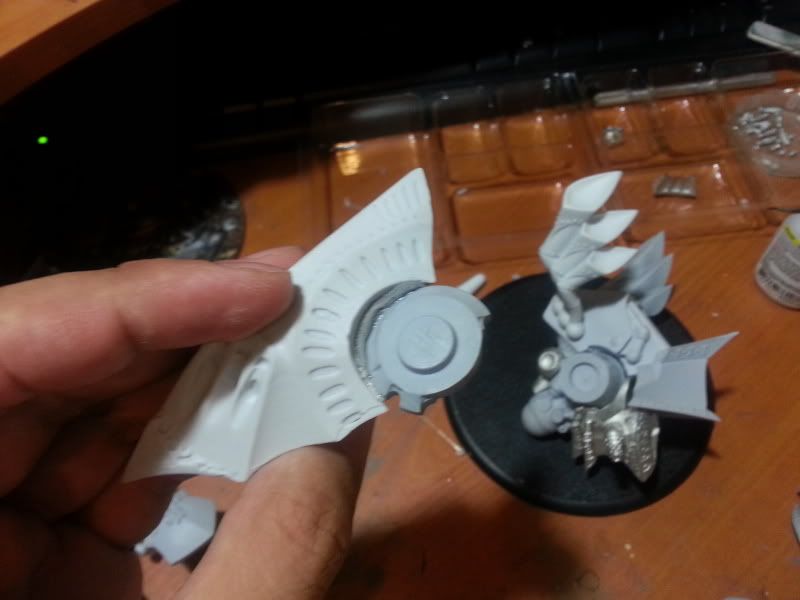
Now only the missile pods left. With horror I discovered that they does not fit well because, as you can see on the previous picture, between the join of the 2 resin pieces of the back and the top is is a space... So I use grey stuff to fix it. I applied glue to the bottom of the pod, then put grey stuff there and more glue on top of the grey stuff, then I put the round piece (the one that supports the missiles) on their place on the torso and the put the shoulder in place, mantaining together only with pressure. The I put the pod on their place, the grey stuff glued to the round piece and after a few minutes this was the result:
Y ahora sólo me quedaban las torretas de misiles. Con horror descubrí que no calzaban mucho porque, como puede verse en la foto anterior, entre la unión de las 2 piezas de resina de la espalda y de la parte de arriba, quedó un espacio... Así que usé masilla gris para rellenar. Apliqué pegamento en la parte de abajo de la torreta y puse masilla gris, y luego puse más pegamento sobre la masilla, luego puse la pieza redonda (encima de la cual van los misiles) en su lugar en el torso y luego puse el hombro, manteniendolos juntos sólo por presión. Luego puse la toorreta en su lugar, la masilla se pegó a la pieza redonda y esperé unos minutos, luego ya pude soltar todo y este es el resultado:

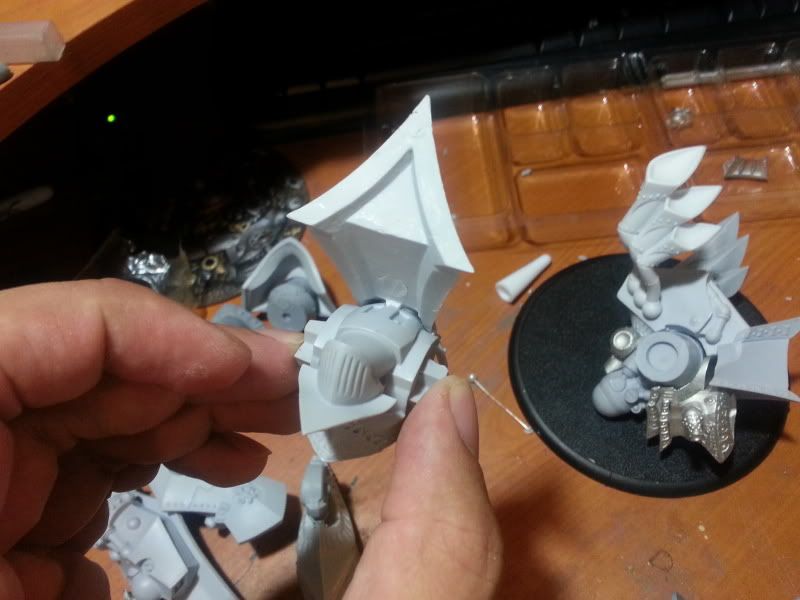
Not so pretty but the bond is really strong. Anyways the grey stuff will be covered by the body and the shoulder. Then I glued the last two pieces for the hip:
No es muy lindo pero la unión quedó realmente fuerte. De cualquier forma la masilla será cubierta por el cuerpo y el hombro. Luego uní las dos últimas piezas de la cadera:
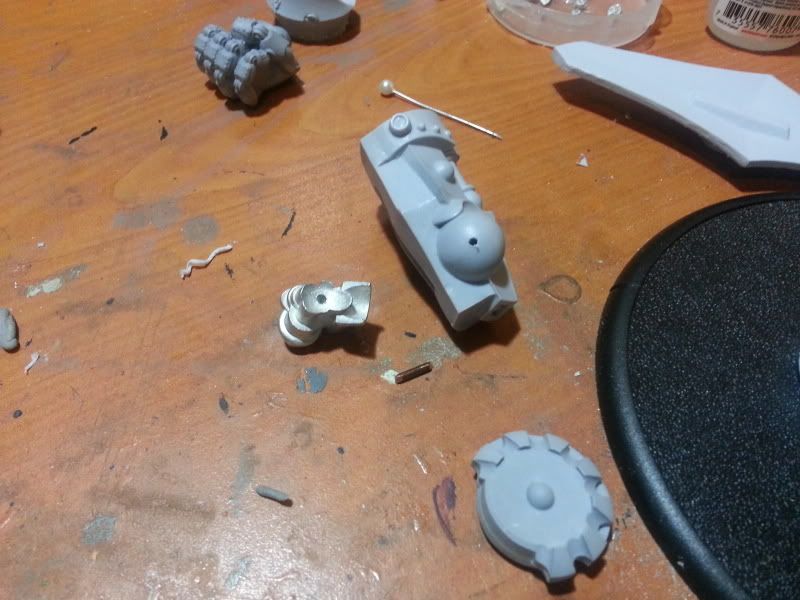
Finally I was almost finish with the assembly previous to the painting stage, only the missiles and the missile hatchs left. I finish the work I started on Wednesday night, making the holes for the hatches deeper. This is the result:
Finalmente estaba casi listo con en ensamblado previo a la etapa de pintura, sólo me faltaban los misiles y las compuertas de los misiles. Terminé el trabajo que empecé el miércoles por la noche, haciendo los agujeros para las compuertas más profundos. Este es el resultado:
As a tip. When I build large models like this, I use a little bit of green or grey stuff between the pieces when I glue them. It helps to make the bonds stronger.
Como consejo, Cuando armo modelos grandes como este, uso un poco de masilla verde o gris entremedio de las piezas cuando las pego. Ayuda a hacer las uniones más fuertes.
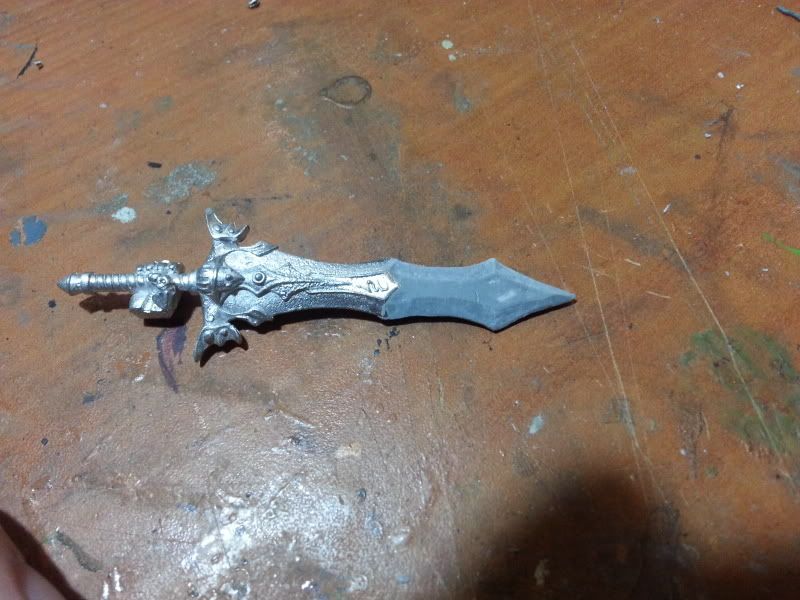
And I finished the avatar's sword!
Y terminé la espada del avatar!
No comments:
Post a Comment